Sorted

:mrgreen:
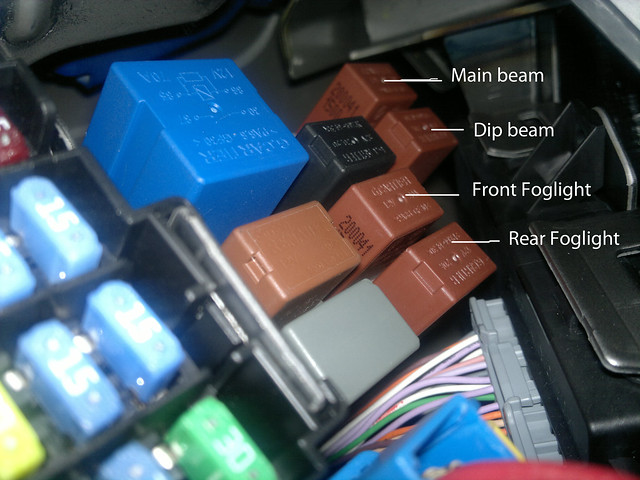
Whenever the main beam is on (or flashed) the front fogs illuminate. When the fogs are on, main beam is unafected.
[youtube]4XJhQEf-M9g[/youtube]
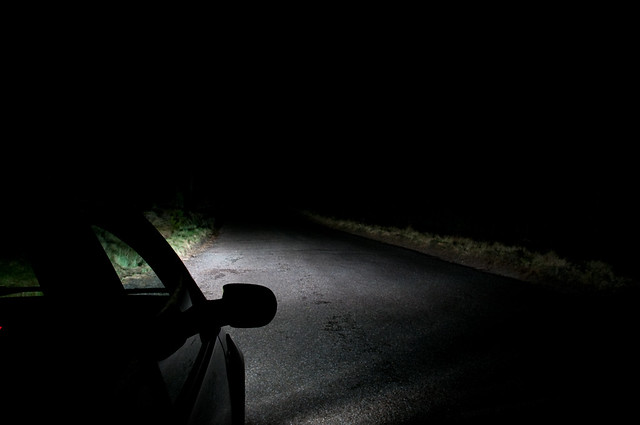
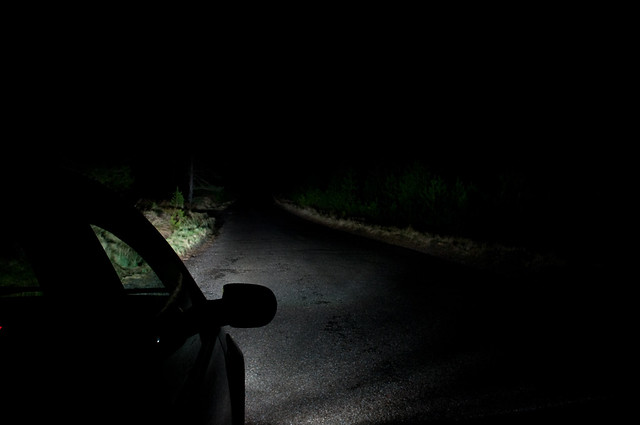
Flash (with fogs linked), Sidelights, Sidelights and fogs, Dip beam, Main beam (with fogs linked).
1. Get the bumper off.
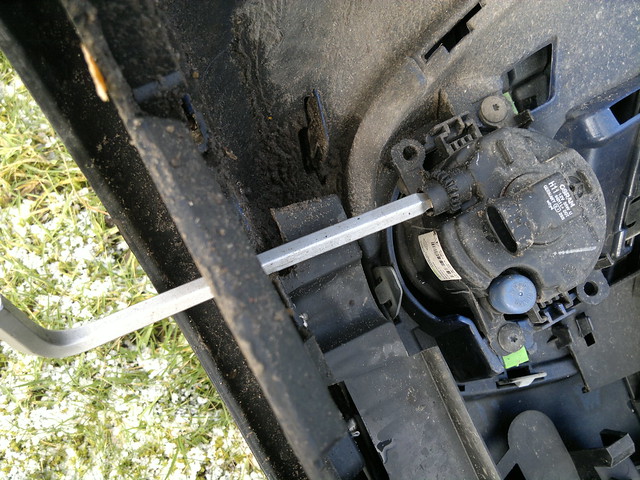
2. If these are going to work as secondary headlights, they may as well be adjustable (although I havent tried adjusting them on the car yet :? )
the lower chassis rail is in the way so this doesn't work on a 133
2a.
Left hand adjuster can be accessed through one of the gaps between chin spoiler and bumper
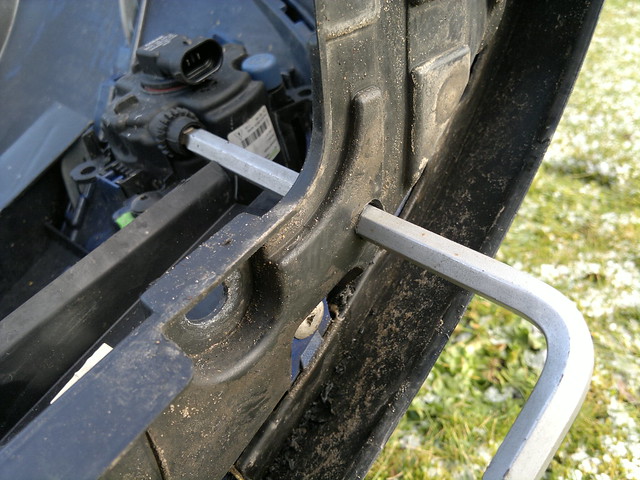
2b.
Drill a hole to allow access to the right hand adjuster
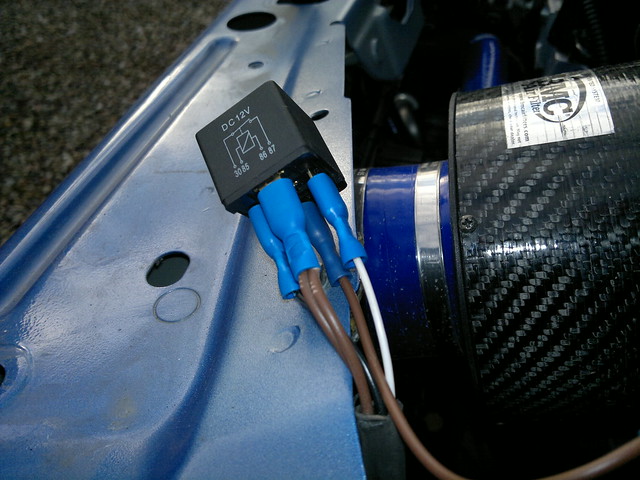
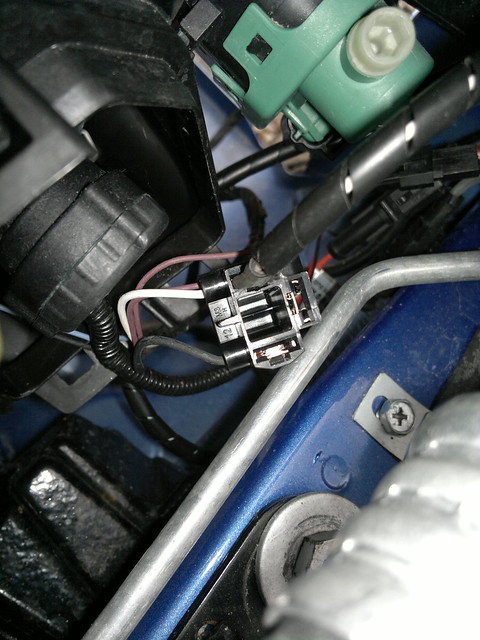
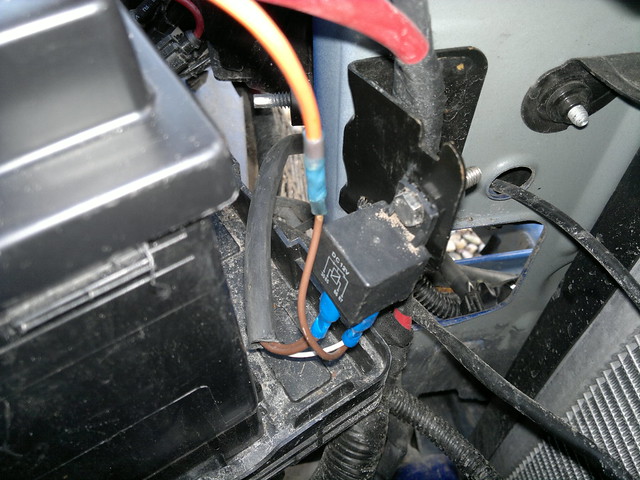
3. The modification uses a 4 pin relay like this. (you could use a 5 pin relay but not use 87a)
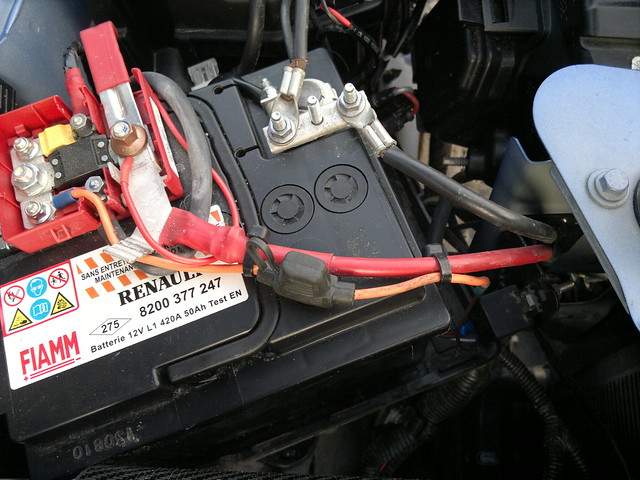
Pin 30 brown-orange goes to the battery +12 terminal through a fuse
Pin 85 white wire goes to the headlight connector or splices into the white headlight main beam wire
Pin 86 Black wire goes to chassis ground
Pin 87 Brown wire (x2) goes to fog lights and splices into the beige wire near the foglight
4. Connecting up.
4a. Having a spare headlight connector due to the HID's not using the right hand connector, I plugged a spade connector into the white wire for the main beam (hence using a white wire) connected to pin 85 of the relay. If you don't have a spare connector, you will need to splice into the white wire somewhere convenient.
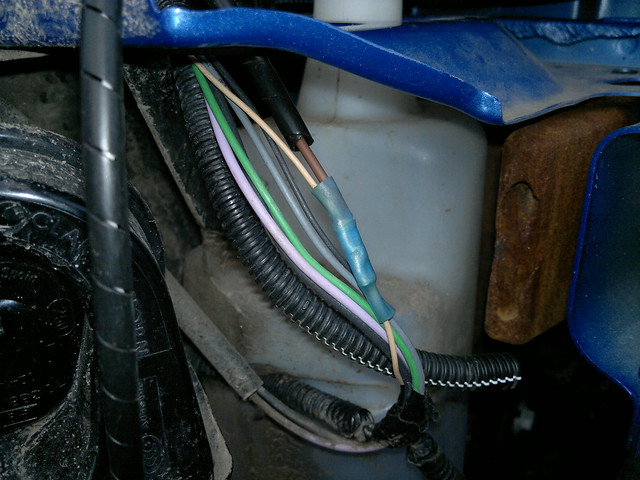
4b. Heres the right hand side foglight cable with one of the new (brown wire) feeds from the relay spliced in
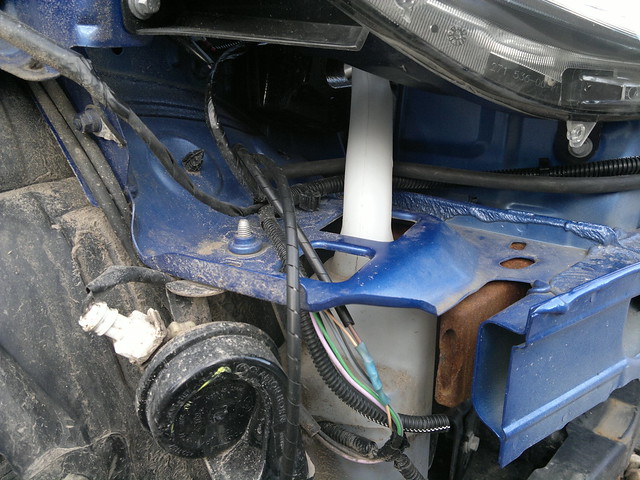
I spiral swapped the cable up to the headlight connector and threaded the cables across the front of the car in a pvc sleeve following the existing loom.
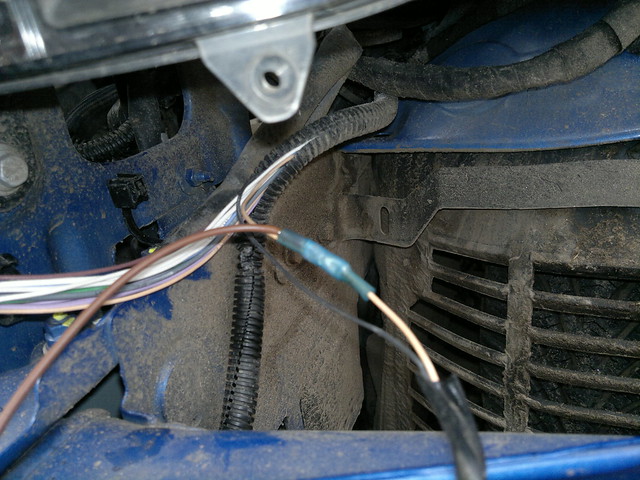
4c. Same thing for the left hand side foglight power
The ground for the relay coil went to the chassis grounding point next to this connection.
5. Using an inline fuse holder, wire in pin 30 (my fuse holder cable was 10cm too short, hence the splice)
6. Mount the relay somewhere safe and fairly dry.
7. Insert fuse. Test

8. Refit bumper :mrgreen:
Edit
9. Being as adjusting from underneath with an allen key didn't work

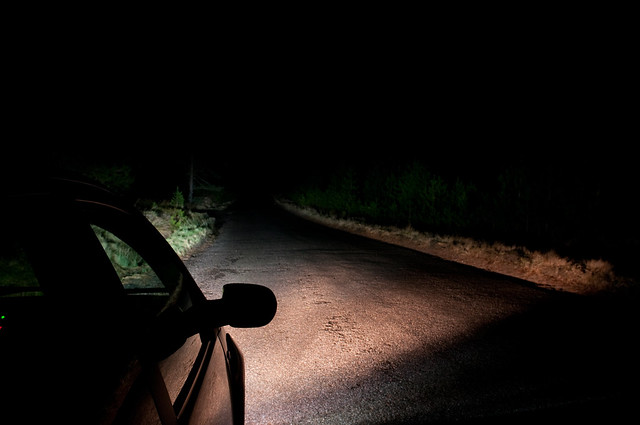
9a. Wait for dark and find a level area so you can check the beam spread from the main/fog lights. (Having the main beam fully down using the dashboard switch will prevent the fogs pointing skywards with a load in the boot)
9b. Remove the 3 screws from the left hand arch liner (2 underneath + 1 at the side)
9c. Turn the steering wheel fully left which allows you to pop the liner enough to get your hand in. With the resonator box removed, adjustment is easy

9d. Use a towel to cover the right hand lights so you can see the effect better. Turn the fog light adjuster to bring the beam up to give a reasonable throw of light, without it overlapping with the main beam.
9e. Repeat on the right hand side, which can be dangerous as the alternator belt is close by
Stop the engine. It is also much more difficult due to the washer bottle, but can be reached.


