Matt
Well-known member
If you want to skip to the decent photos scroll to bottom of this post. I will update this throughout the thread and will not edit this page so be sure to look further...!
It's been a year now that I've owned the Twingo so I thought its about time I get a project thread up with all my modifications. We decided to call it "Pingo" because of the penguin-like colours so it's a cross between Twingo and Pingu (think other people have gone for this name too...?!).
So, I'll try and get this in the order it happened. One thing that I can't for the life of me remember is what order stickers came in so you'll see them chopped and changed all over the place
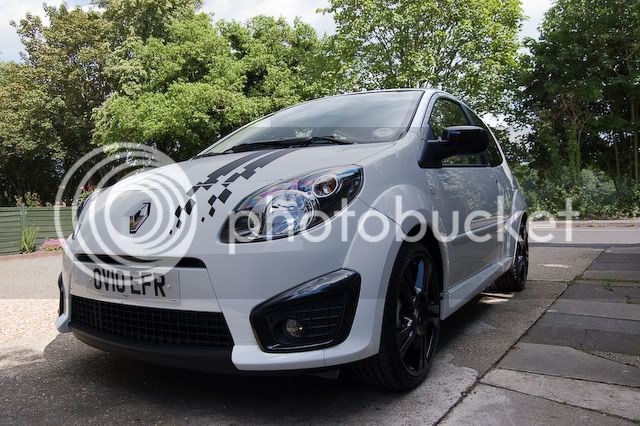
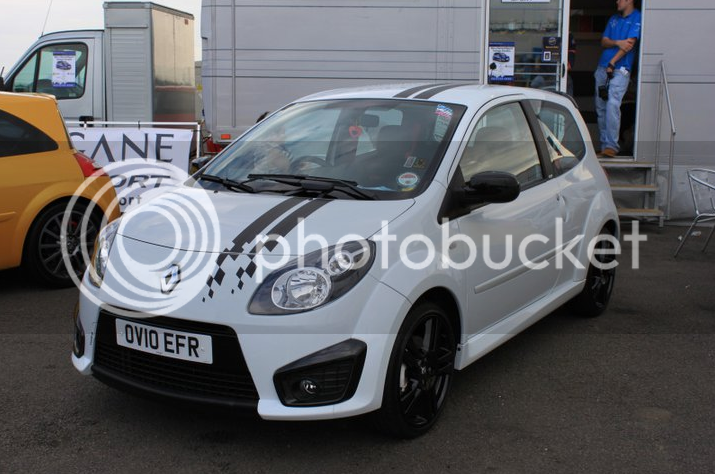
The car is a 2010 133 Cup in Glacier White with ID pack and "racing stripes". I bought this from Jaybee in Oxford and picked it up the day before 2010 FCS which I attended with another club before Karl and I founded Twingo133.net. I didn't want the stripes so they chucked them in for free essentially as they'd only got in the bin. I couldn't find a GW Cup anywhere else so went for this one. I've racked up the miles fairly well with around 17k on the clock... not bad!
Right, here we go... Please excuse some of the old dodgy iPhone photos.
Probably the most common modification - the number plate recess vinyl. What a difference this makes! Now that Renault are shipping the Twingo like this standard it shows how popular this is. Nice and easy to do, bit of black vinyl and away we go.
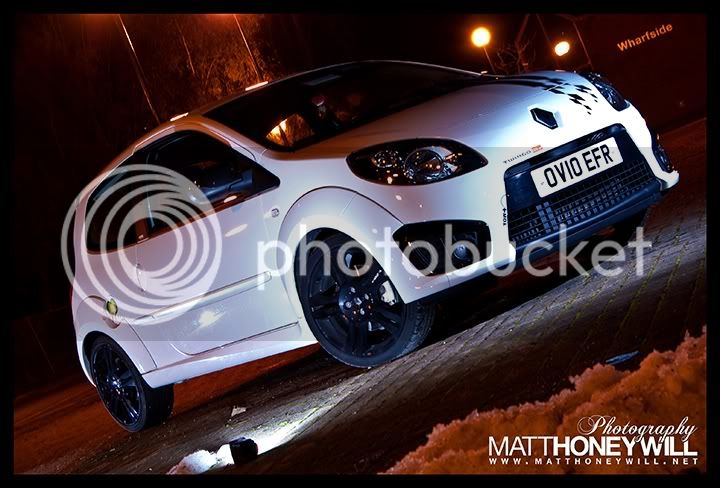
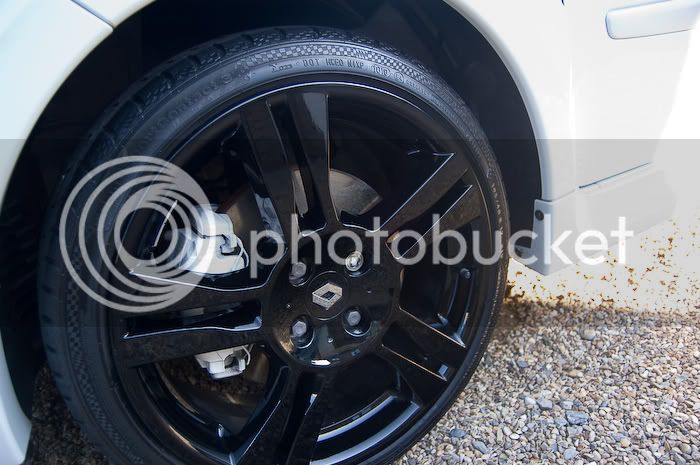
I decided I didn't like the standard silver brake calipers so these were painted white to match the car. I say painted but I actually sprayed them and made a huge mess getting overspray over the entire car. A few hours claying the car and it was like new again! I re-painted these months afterwards with a brush
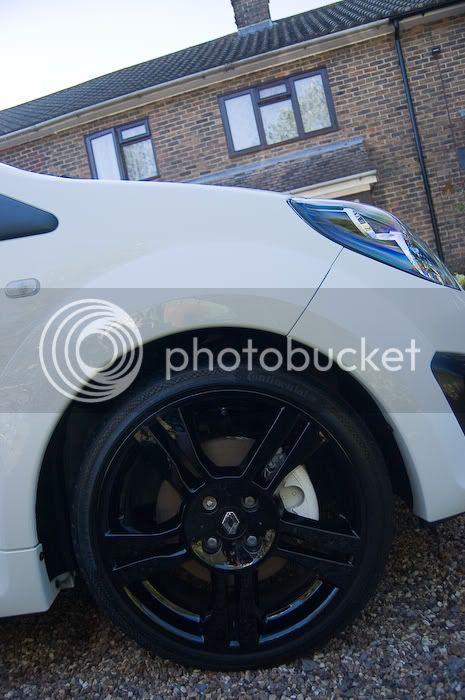
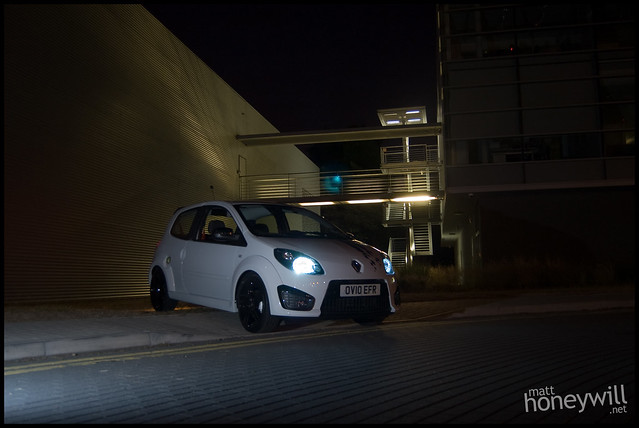
Silvervisions were on the list next. I had these in both my previous two Clios and it is a must have mod. Removing the horrible orange tint from your otherwise clear clusters makes a world of a difference. I also replaced the sidelights with LED variants which helped to brighten the front up.
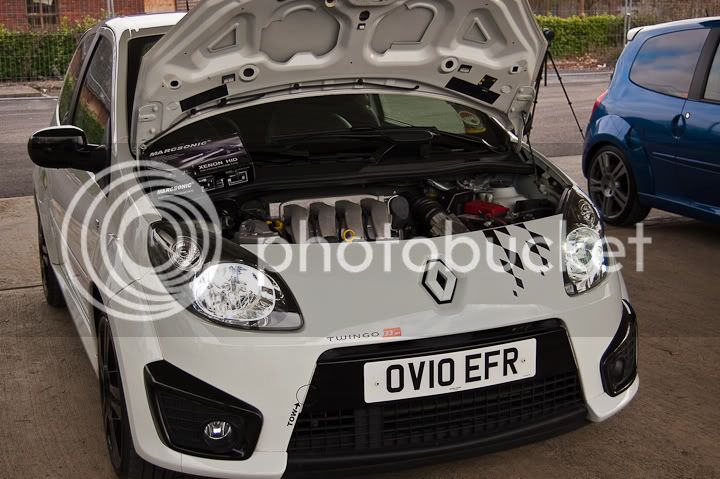
I found an old induction cone laying around so with the help of a bag of cable ties I secured this in on the standard inlet hose. This was horrible and drained the performance but it sounds oh so good! RAWR. I had previously taken the bung out but no need to list that as a mod Please note, this was later changed.
-can't find a photo... will update-
After seeing Karls car with a set of HIDs form Josh I had to get me some. The next Oxford meet I got a set from him and these look brilliant! A must have modification and I'll never go back to standard bulbs.
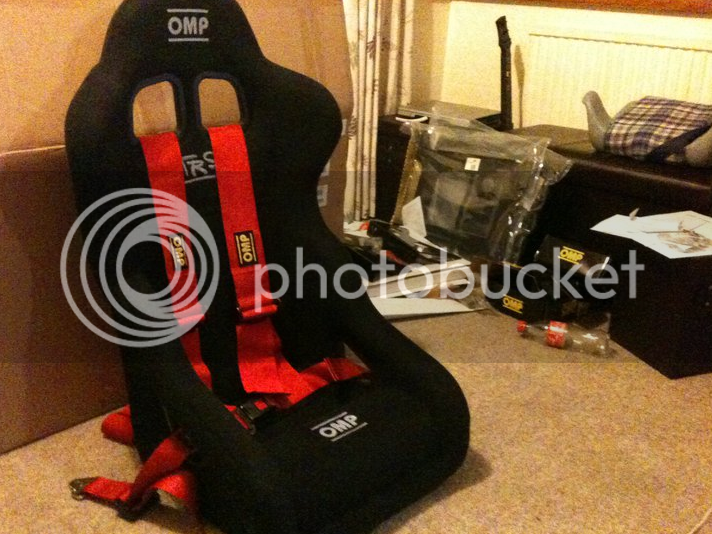
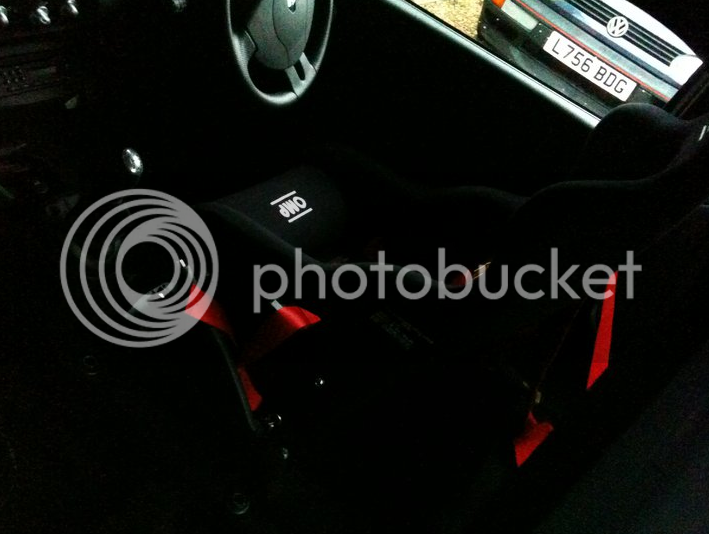
Next up on the list is the biggest modification to the car. A set of OMP TRS bucket seats with 3" harnesses. These have made by far the best improvement to the cars general look and make driving feel much safer as you're strapped in and in more control of the car. I'm still yet to get the car on track but when I do, these will show their true potential. I believe this was the 3rd Twingo to get bucket seats after much advice from Al on fitment, etc. What a b*tch these were to get in the back of the car. A massive box for the seats and various other boxes for subframes/sidemounts/sliders/harnesses... nightmare!
More photos coming soon... Just realised I have no decent ones!
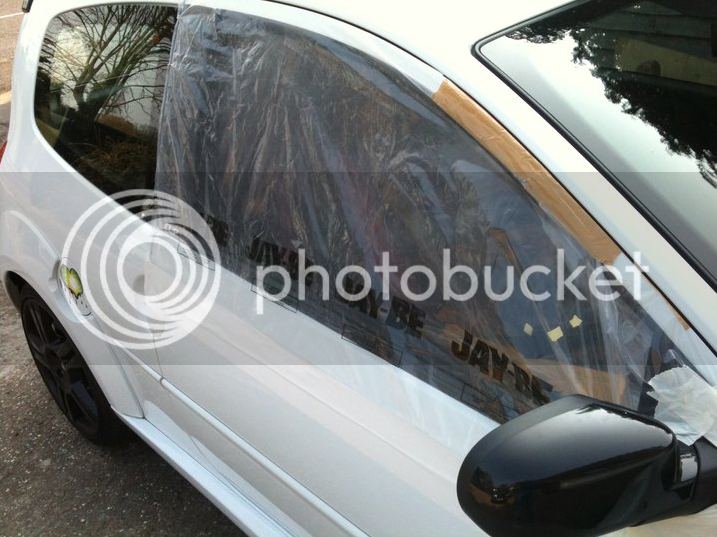
Not really a modification but something that happened which needed seeing to! On the way to London to get some photos with friends some pikeys in vans decided to terrorise everyone. I ended up with a smashed window at national speed limit and another car (with baby on board) was almost pushed into the central reservation! Police didn't really care... Anyway, a couple days of not being able to see out of the window and Karl got me a replacement. That was fun fitting but I got it done! Check the name of the bags I used too lol very close to Jaybee Renault.
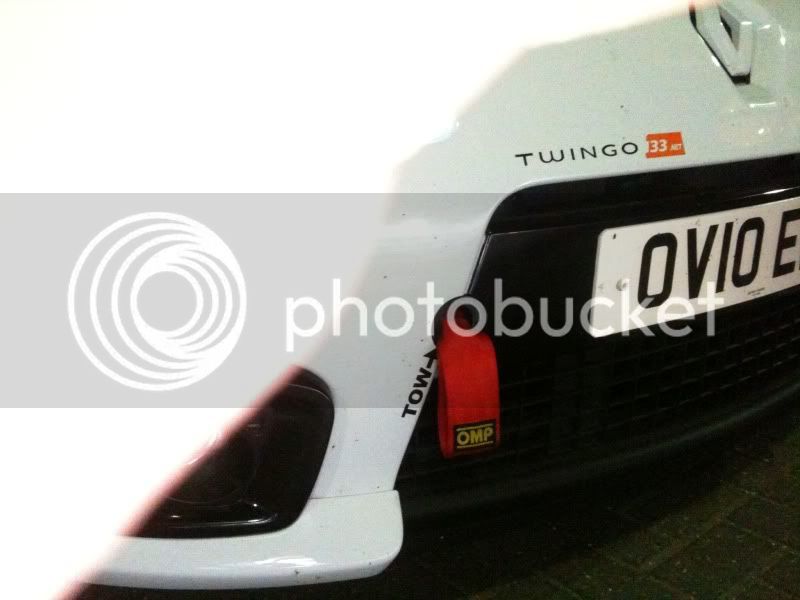
Something else I picked up at the same time as the seats is the OMP tow strap. This was a right pain in the ass to fit so I left it for a while. When I finally got around to fitting it I had actually lost my locking wheel key so trying to remove the bumper with minimal access to the wheel arch made things very difficult. Eventually the bumper was dropped and some custom bracket made to fit the tow strap. It fits in very well with the harnesses.
I also had a headunit from an old car lying around so I decided to whack this in. A nice feature about it is the huge amount of colour options. I chose orange to match the interior lights all over the car.
-no photo yet...-
I found my old Clio strut brace which apparently fits the Twingo. A bit of filing and whacking later I got this in. I does seem to make a difference but I'm really not sure how much of a placebo this is. It certainly creaks a lot when cornering so I imagine it's taking some kind of strain. One thing I have noticed is it likes to lift-off oversteer much more. This was wrapped in red vinyl to match the rest of the mods very quickly.
-Again, no photo yet...-
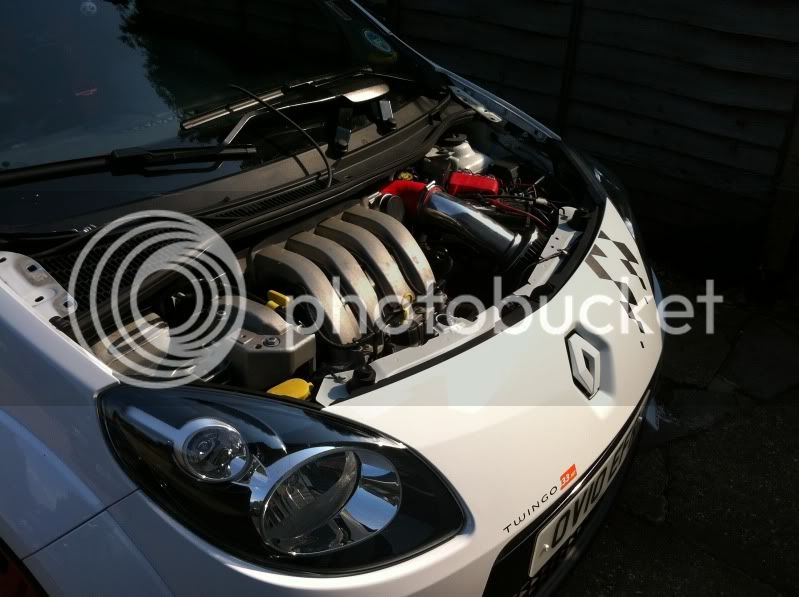
Back to the induction setup now... I invested in some silicone and stainless steel pipe to create a much smoother intake. The other benefit was being able to move the cone as far away from the engine as possible. It's very limited in there and the heat soak will still be as bad as before but it looks a hell of a lot better and doesn't whack the bonnet when rev-matching like the old floppy one did Next up on the list of mods is some heat shielding to surround the whole induction setup.
The rear Twingo sticker was next to be removed from the car. A hair dryer and 5 minutes later the rear of the car was nice and clean. Much better!
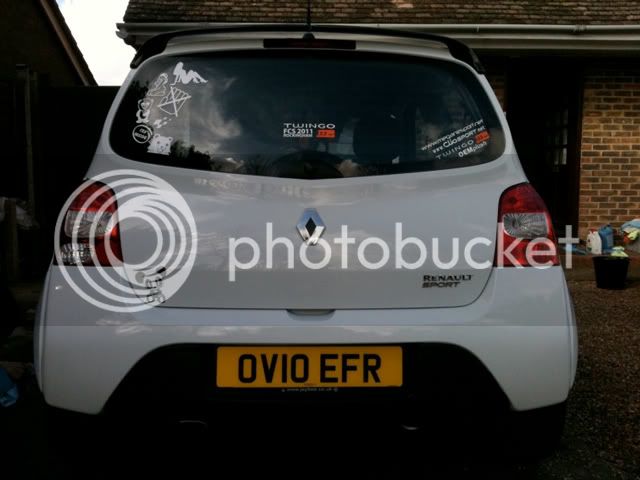
Rattle cans made another appearance but well away from the car this time. I couldn't decide what colour to spray the front badge but I really didn't like the chrome (previous two Clios had this done as a priority). Due to the black surround of the front badge I decided to spray the front Glacier White and the rear Pearl Black to match the ID parts. The rear badge also has a center which I colour coded Glacier White, too. These made a huge difference to the appearance as well.
-Hmm, no photos yet again!-
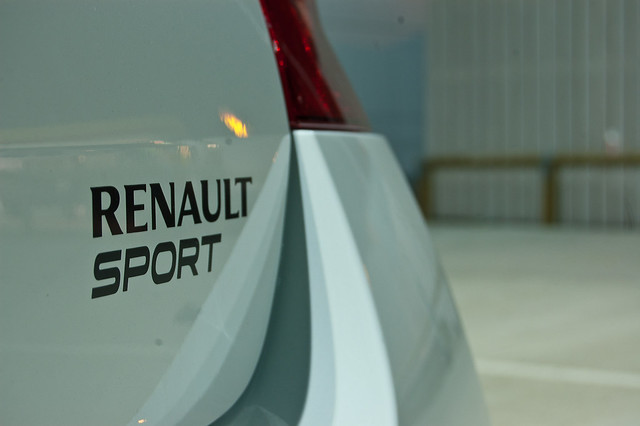
To match this, I also knocked up a replacement sticker for the rear RS badge. [shameless_plug]I will be selling a set of RS badge + Twingo badge replacements like this soon[/shameless_plug]
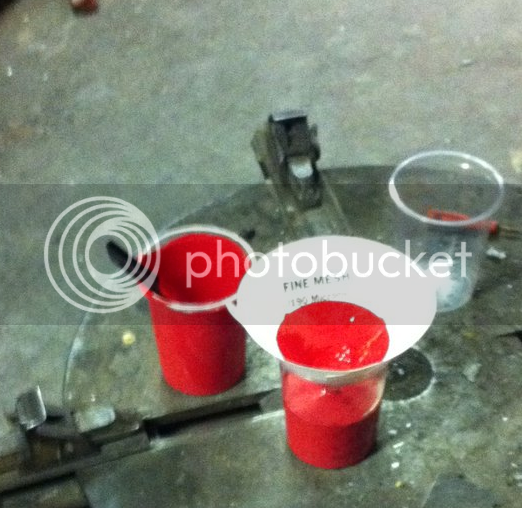
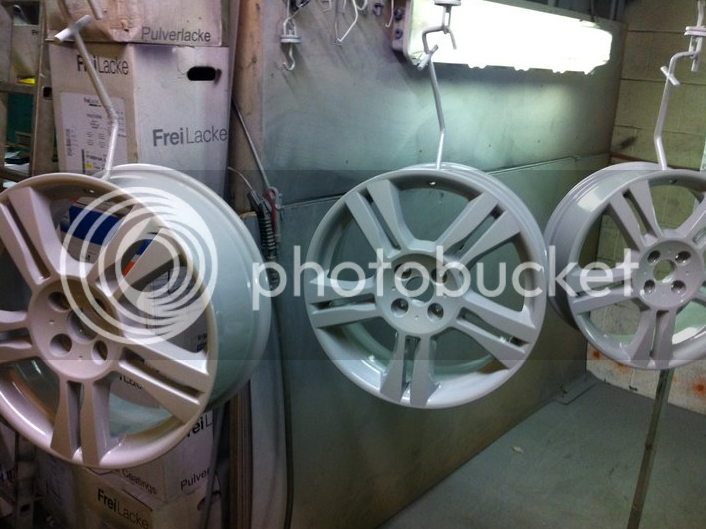
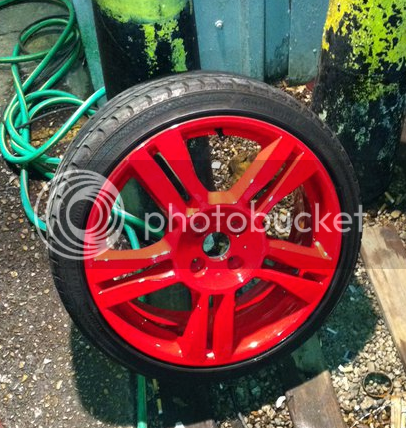
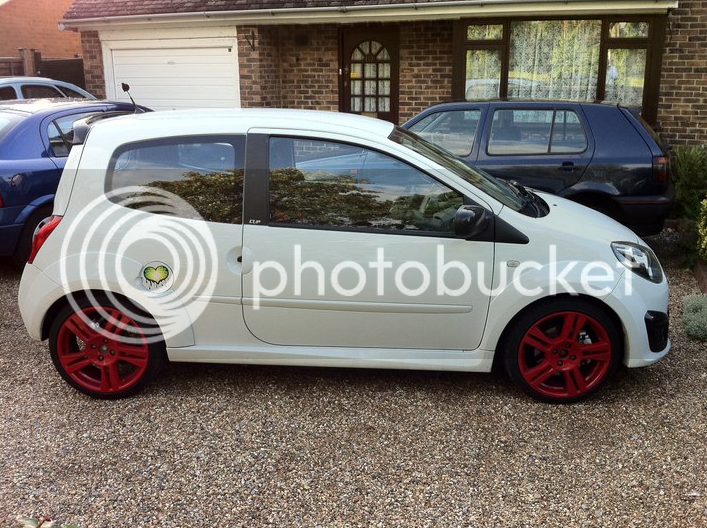
Another huge change to the cars appearance was the wheels. Due to kerbing (d'oh!) I needed these done anyway, but I decided to be brave and try something different. To match the harnesses and other red pieces of the car - the wheels went RED! I had previously sprayed my wheel diamonds white which I forgot to mention (just remembered this!). The diamonds went black but were soon changed back to white as they looked a bit crap.
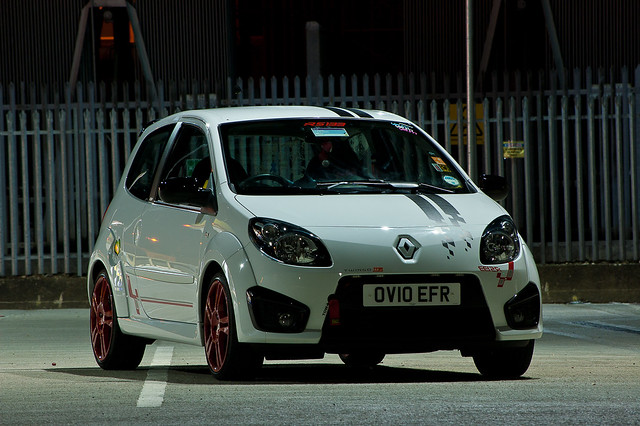
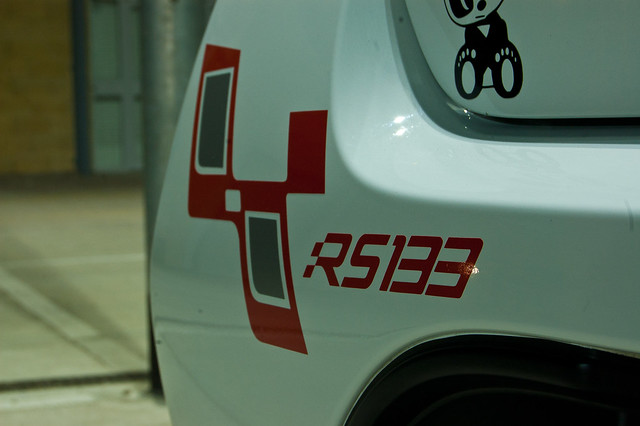
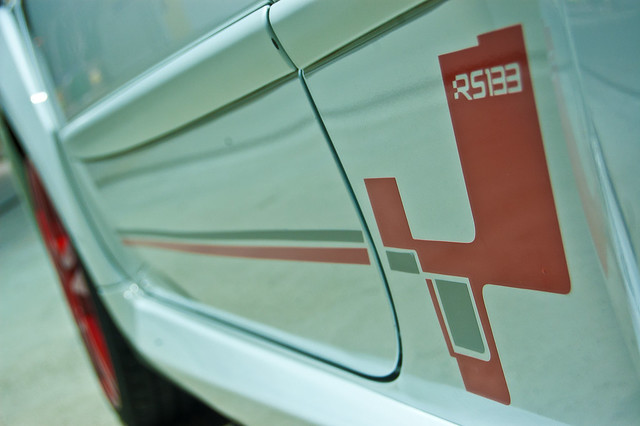
Now because of the red wheels and bucket seats I decided to go down the route of a "Mini R26R". This involved a good few hour mocking things up, measuring and designing the artwork for the car. The graphics were drawn from many R26R photos and ended up looking pretty nice! These were just test stickers so they were whacked on the car quickly for some photos. I will be replacing these shortly with adjusted ones (ie. front needs moving to the NS to fit the logo on in the correct place).

Future mods (in no particular order);
OMP steering wheel + boss kit
Custom exhaust
Carbon fibre bonnet (maybe... I need it to complete the R26R look)
Induction heat shield
Spoiler + diffuser.
- - - - - - - - - - - - - - - - - - - - - - - - - - -
I think that's about it for now...! I will keep this updated with any future modifications and I'm happy to answer any questions about anything above. Sorry if it seems rushed - it is!
It's been a year now that I've owned the Twingo so I thought its about time I get a project thread up with all my modifications. We decided to call it "Pingo" because of the penguin-like colours so it's a cross between Twingo and Pingu (think other people have gone for this name too...?!).
So, I'll try and get this in the order it happened. One thing that I can't for the life of me remember is what order stickers came in so you'll see them chopped and changed all over the place
The car is a 2010 133 Cup in Glacier White with ID pack and "racing stripes". I bought this from Jaybee in Oxford and picked it up the day before 2010 FCS which I attended with another club before Karl and I founded Twingo133.net. I didn't want the stripes so they chucked them in for free essentially as they'd only got in the bin. I couldn't find a GW Cup anywhere else so went for this one. I've racked up the miles fairly well with around 17k on the clock... not bad!

Right, here we go... Please excuse some of the old dodgy iPhone photos.
Probably the most common modification - the number plate recess vinyl. What a difference this makes! Now that Renault are shipping the Twingo like this standard it shows how popular this is. Nice and easy to do, bit of black vinyl and away we go.

I decided I didn't like the standard silver brake calipers so these were painted white to match the car. I say painted but I actually sprayed them and made a huge mess getting overspray over the entire car. A few hours claying the car and it was like new again! I re-painted these months afterwards with a brush


Silvervisions were on the list next. I had these in both my previous two Clios and it is a must have mod. Removing the horrible orange tint from your otherwise clear clusters makes a world of a difference. I also replaced the sidelights with LED variants which helped to brighten the front up.


I found an old induction cone laying around so with the help of a bag of cable ties I secured this in on the standard inlet hose. This was horrible and drained the performance but it sounds oh so good! RAWR. I had previously taken the bung out but no need to list that as a mod
-can't find a photo... will update-
After seeing Karls car with a set of HIDs form Josh I had to get me some. The next Oxford meet I got a set from him and these look brilliant! A must have modification and I'll never go back to standard bulbs.

Next up on the list is the biggest modification to the car. A set of OMP TRS bucket seats with 3" harnesses. These have made by far the best improvement to the cars general look and make driving feel much safer as you're strapped in and in more control of the car. I'm still yet to get the car on track but when I do, these will show their true potential. I believe this was the 3rd Twingo to get bucket seats after much advice from Al on fitment, etc. What a b*tch these were to get in the back of the car. A massive box for the seats and various other boxes for subframes/sidemounts/sliders/harnesses... nightmare!
More photos coming soon... Just realised I have no decent ones!


Not really a modification but something that happened which needed seeing to! On the way to London to get some photos with friends some pikeys in vans decided to terrorise everyone. I ended up with a smashed window at national speed limit and another car (with baby on board) was almost pushed into the central reservation! Police didn't really care... Anyway, a couple days of not being able to see out of the window and Karl got me a replacement. That was fun fitting but I got it done! Check the name of the bags I used too lol very close to Jaybee Renault.

Something else I picked up at the same time as the seats is the OMP tow strap. This was a right pain in the ass to fit so I left it for a while. When I finally got around to fitting it I had actually lost my locking wheel key so trying to remove the bumper with minimal access to the wheel arch made things very difficult. Eventually the bumper was dropped and some custom bracket made to fit the tow strap. It fits in very well with the harnesses.

I also had a headunit from an old car lying around so I decided to whack this in. A nice feature about it is the huge amount of colour options. I chose orange to match the interior lights all over the car.
-no photo yet...-
I found my old Clio strut brace which apparently fits the Twingo. A bit of filing and whacking later I got this in. I does seem to make a difference but I'm really not sure how much of a placebo this is. It certainly creaks a lot when cornering so I imagine it's taking some kind of strain. One thing I have noticed is it likes to lift-off oversteer much more. This was wrapped in red vinyl to match the rest of the mods very quickly.
-Again, no photo yet...-
Back to the induction setup now... I invested in some silicone and stainless steel pipe to create a much smoother intake. The other benefit was being able to move the cone as far away from the engine as possible. It's very limited in there and the heat soak will still be as bad as before but it looks a hell of a lot better and doesn't whack the bonnet when rev-matching like the old floppy one did

The rear Twingo sticker was next to be removed from the car. A hair dryer and 5 minutes later the rear of the car was nice and clean. Much better!

Rattle cans made another appearance but well away from the car this time. I couldn't decide what colour to spray the front badge but I really didn't like the chrome (previous two Clios had this done as a priority). Due to the black surround of the front badge I decided to spray the front Glacier White and the rear Pearl Black to match the ID parts. The rear badge also has a center which I colour coded Glacier White, too. These made a huge difference to the appearance as well.
-Hmm, no photos yet again!-
To match this, I also knocked up a replacement sticker for the rear RS badge. [shameless_plug]I will be selling a set of RS badge + Twingo badge replacements like this soon[/shameless_plug]

Another huge change to the cars appearance was the wheels. Due to kerbing (d'oh!) I needed these done anyway, but I decided to be brave and try something different. To match the harnesses and other red pieces of the car - the wheels went RED! I had previously sprayed my wheel diamonds white which I forgot to mention (just remembered this!). The diamonds went black but were soon changed back to white as they looked a bit crap.


Now because of the red wheels and bucket seats I decided to go down the route of a "Mini R26R". This involved a good few hour mocking things up, measuring and designing the artwork for the car. The graphics were drawn from many R26R photos and ended up looking pretty nice! These were just test stickers so they were whacked on the car quickly for some photos. I will be replacing these shortly with adjusted ones (ie. front needs moving to the NS to fit the logo on in the correct place).


Future mods (in no particular order);
OMP steering wheel + boss kit
Custom exhaust
Carbon fibre bonnet (maybe... I need it to complete the R26R look)
Induction heat shield
Spoiler + diffuser.
- - - - - - - - - - - - - - - - - - - - - - - - - - -
I think that's about it for now...! I will keep this updated with any future modifications and I'm happy to answer any questions about anything above. Sorry if it seems rushed - it is!


