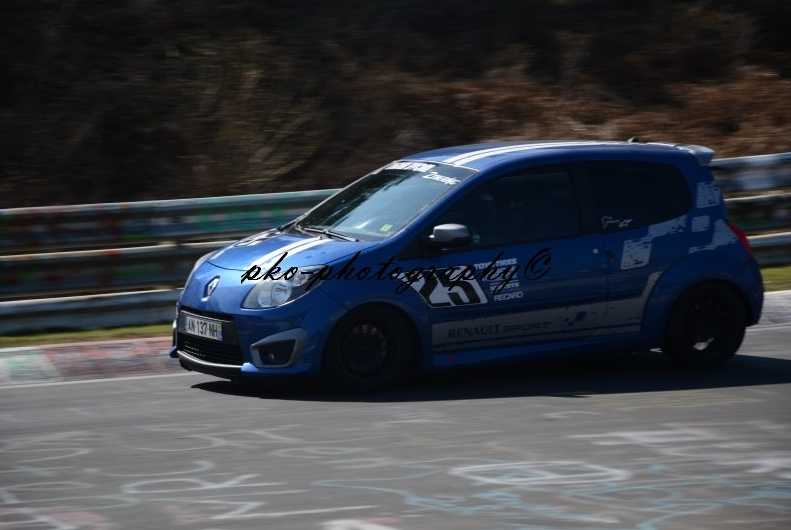
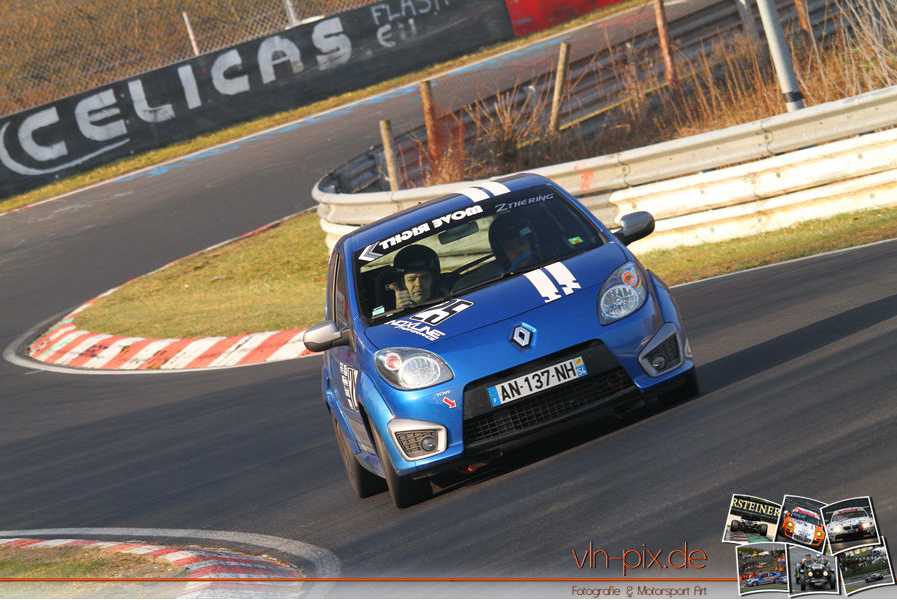
Alright, I thought I´d put a bit of explanations on what happened in the last few days...
Last week has been a bit hectic to say the least. I fitted the door panels, a bit like **** first but since I´ve found some high resistance tape which is perfect and allowed me to get a much better finish around the windows controllers and everything.
I then spent Friday night preparing my brakes ducts and all my other parts.
Saturday, up at 6 am, i got onto, or actually under, the car. 15hours later with no food and no breaks, the car was ready for the Sunday trip to my best test track, the Nordschleife

Ok, that´s the short story, it´s nice and everything, but the long story is as follows, and will contain some **** langage...
I started on Saturday by removing the driver´s seat to install the new R2 seat supports, which are made of aluminium, are super light and super quality. Perfect so? Not so much ... I realised that the R1 and R2 rally cars have a different body structure. They have plates welded to the floor to be able to fix the seats on top. I don´t, so I drilled new holes in my floor to fit the new supports. That was the idea. until my drill decided it was gonna run out of battery after 5 min. So recharging it... but I forgot to plug the charger in the wall, so 2hrs later when I went back to my apartment to get the supposedly charged battery, i looked like an idiot

So this time I plugged it in!
I went back to the car to finish my holes with my file (apparently that´s how you call the tools that are cylindrical, or square section, and that you use to refine the edges of a metal part or widen a hole for example?). So, going from 3mm wide holes to 9mm wide holes, all by hand, on 3mm thick steel. Very fun :evil:
That kept me busy for a while but I got the seat in position. Almost... The seat was not straight when you stand in front of the car, it was bent to the side with something like 15° angle!! So i lowered it on one of the supports (the exterior one) until i reached horizontality and verticality for the seat. Great, but that meant cutting with a rotating saw the top of the exterior support of the seat. So there goes my brand new and expensive R2 aluminium part!! Top chopped off :twisted:
Now the seat is in position, I seat even lower than before in more backwards, perfect for me. My shoulders are now basically lower than my doors! And I am 6 feet tall...
So then i moved to my rear axle to install the camber plates. I had the new screws, expensive also because made on order and supposed to be super strong. Well they are for sure, but the only slight little problem is that the holes in the rear RS hubs are apparently of a smaller diameter than the rally cars hubs. So the screws don´t fit. thankfully I re-used them as seat screws in the floor as the original R2 seat screws are actually too short for my setup ...
So the rear hubs now have 1.5° of negative camber, and it´s a pain in the ass to install when you´re alone as you have to hold the hub / rear disc / rear caliper in one hand, with also the camber plates in sandwich between that and the rear axle, and with the other hand start screwing everything in position...
So I used the screws which were already on the car. They don´t go as far inside the hub as before but it should be ok, even though I´ll have a look if i can find longer ones but with the same diameter.
So, rear end done! 1h30 on that ...
I then moved to the front brakes to do the cooling system. From my original cooling plates, I basically cut 60% of it, kept the tube, used the flat elements to cut supports in it, and the part is now bolted onto the shock´s lower fixation points and the caliper´s highest fixation point. It´s death proof (but will it be Ring proof??) and doesn´t move at all. It clears the 15" rims by just 2 mm, but that´s enough, and it really helped this weekend to keep consistency in the braking and avoid wearing the pads too quickly. The brake ducts then are riveted onto the modified parts and go under the front end of the car to grab air in the front.
But I should have squeezed them so that they are flatter as they touched the road this Sunday and that litterally instantly sanded them on 15cm long... So, they must be changed for the next weekend. All that took me about 5h of work, cutting, riveting, testing, fitting, re-cutting, etc etc.
I then removed my front bumper to access my aircon and remove it. Well, that was quick to do... It´s not possible without unmounting the right front wheel-arch or the engine from the engine bay. Aircon stays in, unplugged though.
I finally could finish my driver´s seat, drill two more holes for my crotch straps for the Schroth harness, fit them and adjust them.
Though to be able to screw the seat in position, as the fixation points have moved, they don´t align anymore with the holes in the under floor panel. So I bent a bit the metal to access with the tool, taped the screw into position on the top of the seat mount to avoid it going up or rotating when I was bolting it from under.
Again, not an easy job to do when you´re alone under your car, but everything finally came into place.
That leaves me with some work for this week ...
I must glue in position the foot rest for the driver, glue the rear panels also, glue the rubber floor mat elements that I want to put into the trunk to be able to put my tools on it without them scratching my floor, and finally cut and glue and bolt into the position the floor panels for both driver and passenger.
Next saturday, the car goes for servicing of the engine and gearbox, and then I´ll fit the passenger seat with the new supports and the 6-point harness too.
So that was the loooooong story of a loooong saturday!


